
How to Paint a Veterinarian
Step One
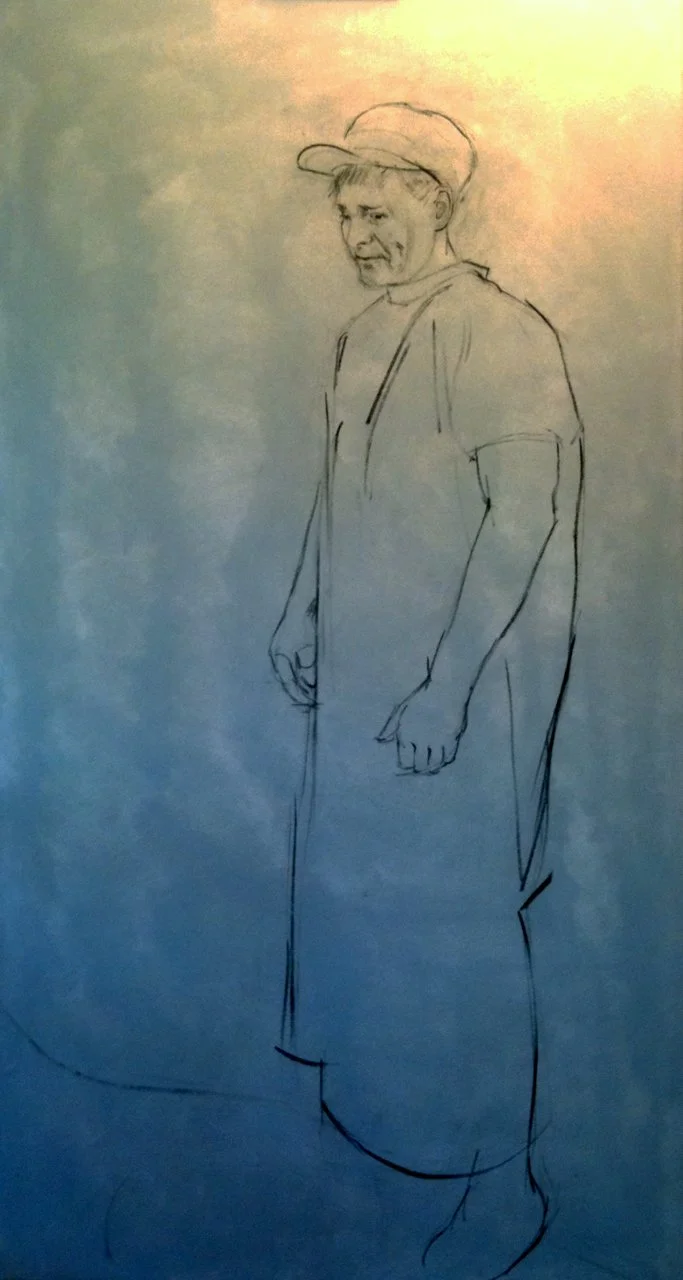
The best way to start a portrait of a veterinarian is to go to a cow barn, horse stable, zoo or small animal hospital to catch one at work (preferably without any blood/faeces/indescribable substances spilled all over, though it depends on what sort of "mood" you want the portrait to evoke). I chose to capture the veterinarian Matti Heikkinen pausing in between procedures in a cow barn. Matti had graciously invited me along on one of his on-call days, and as luck would have it (for me, not the cow) I was able to observe a calving-with-some-complications case. I watched the procedures, took documentary photographs and generally stayed out of the way. Back in the studio I composed several compositions from this one event, including this standing portrait of Matti.
Using a number of photographs as lighting and compositional references, I sketched the full figure in charcoal on canvas, not going into detail but mapping out the proportions and placement, so that alterations and corrections could be made in impermanent charcoal and not in bulky paint layers.
Step Two
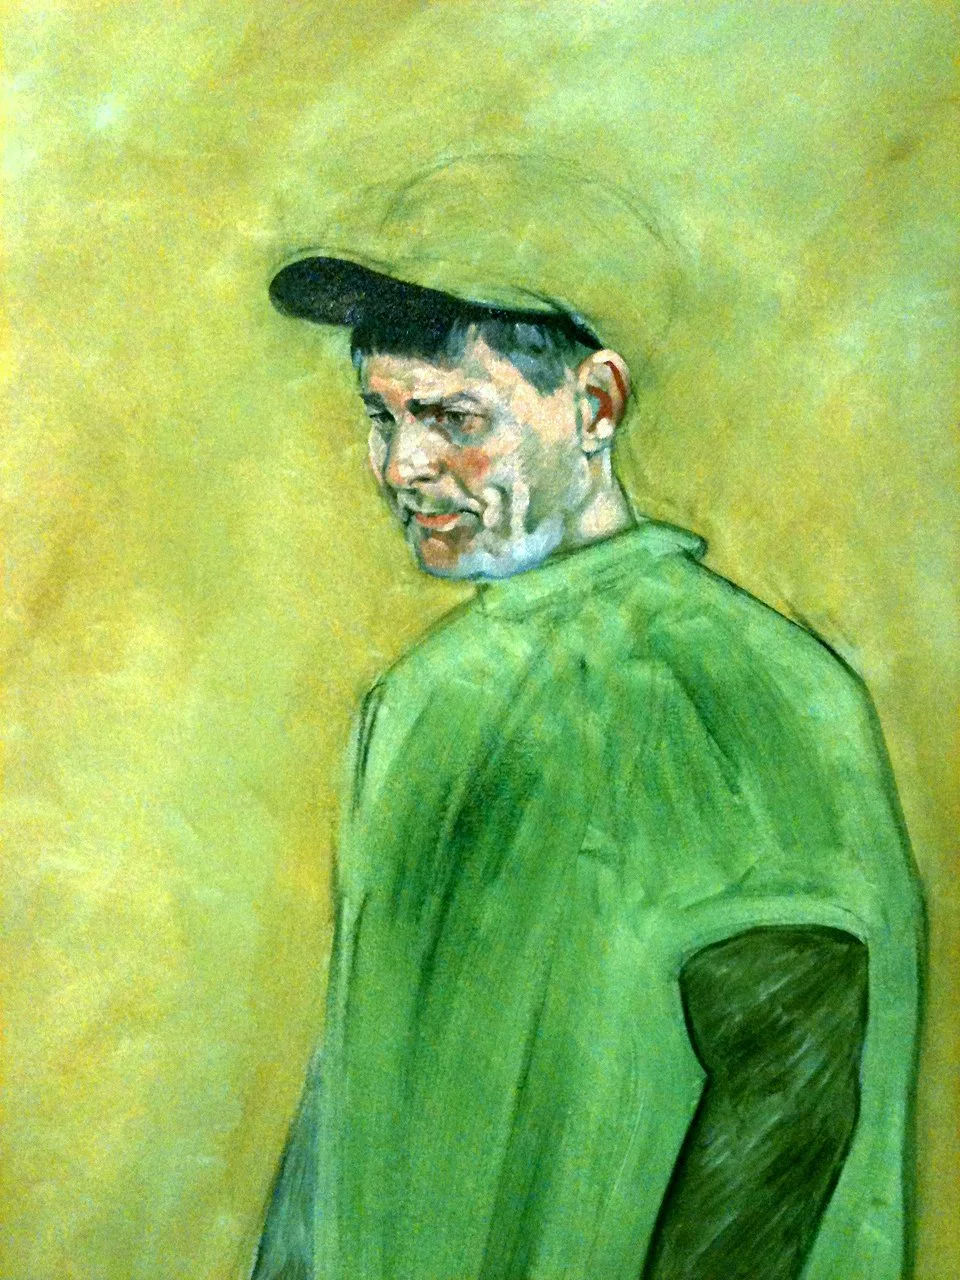
The first layers of paint put to canvas were a loose ochre color for the background and a darker, somewhat green earthy tone for the body and clothes to sketch in the shapes.
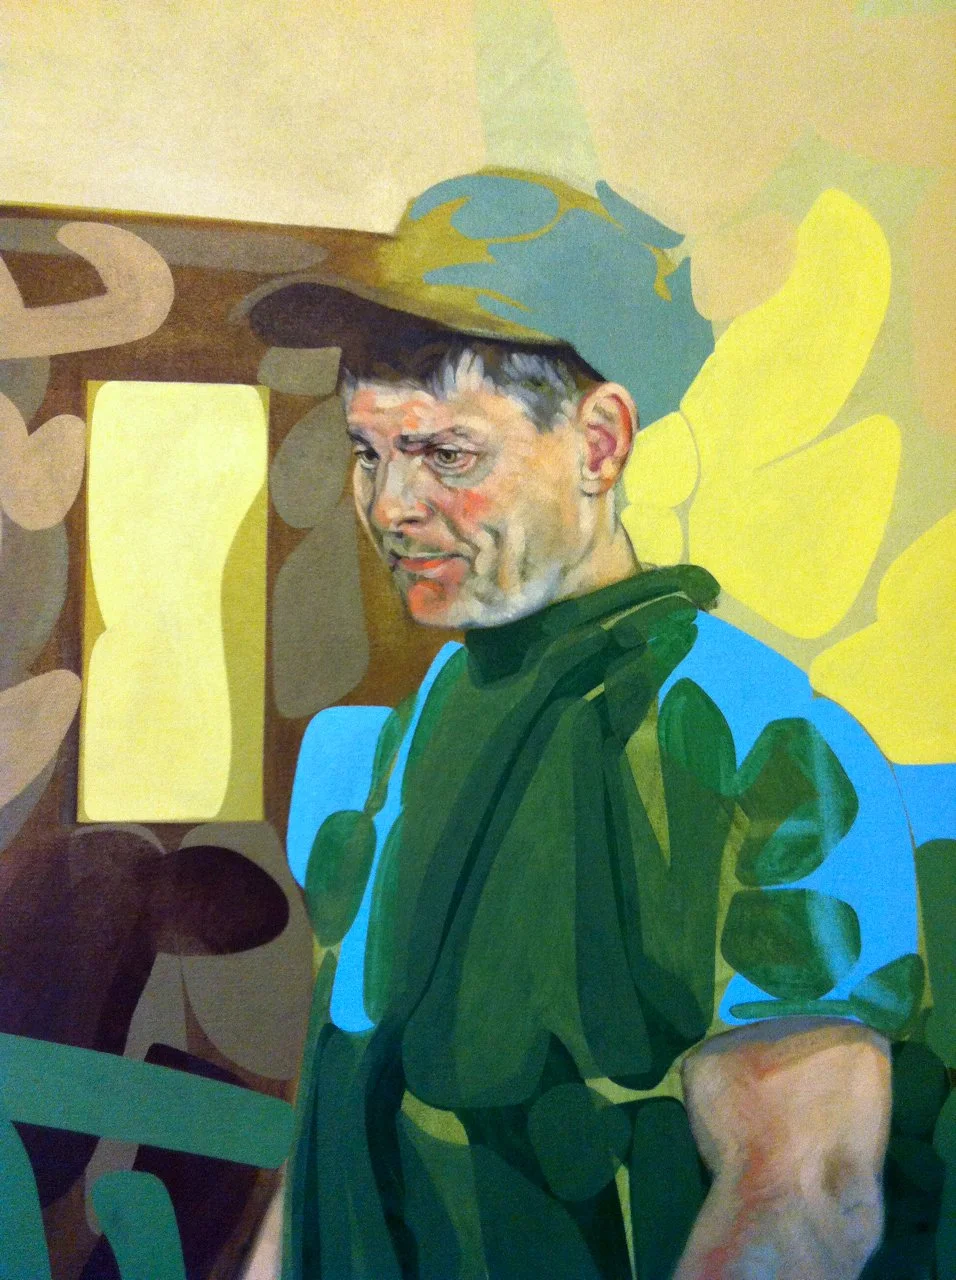
The composition now set in color, I focused on capturing the face, blocking in the shadows and then highlights in two separate sessions. Generally I don't work wet-on-wet, preferring to work new paint layers over previously dried layers, so as not to muddy the colors or make transparent washes opaque.
Detail of work-in-progress face of The Veterinarian.
Step Three
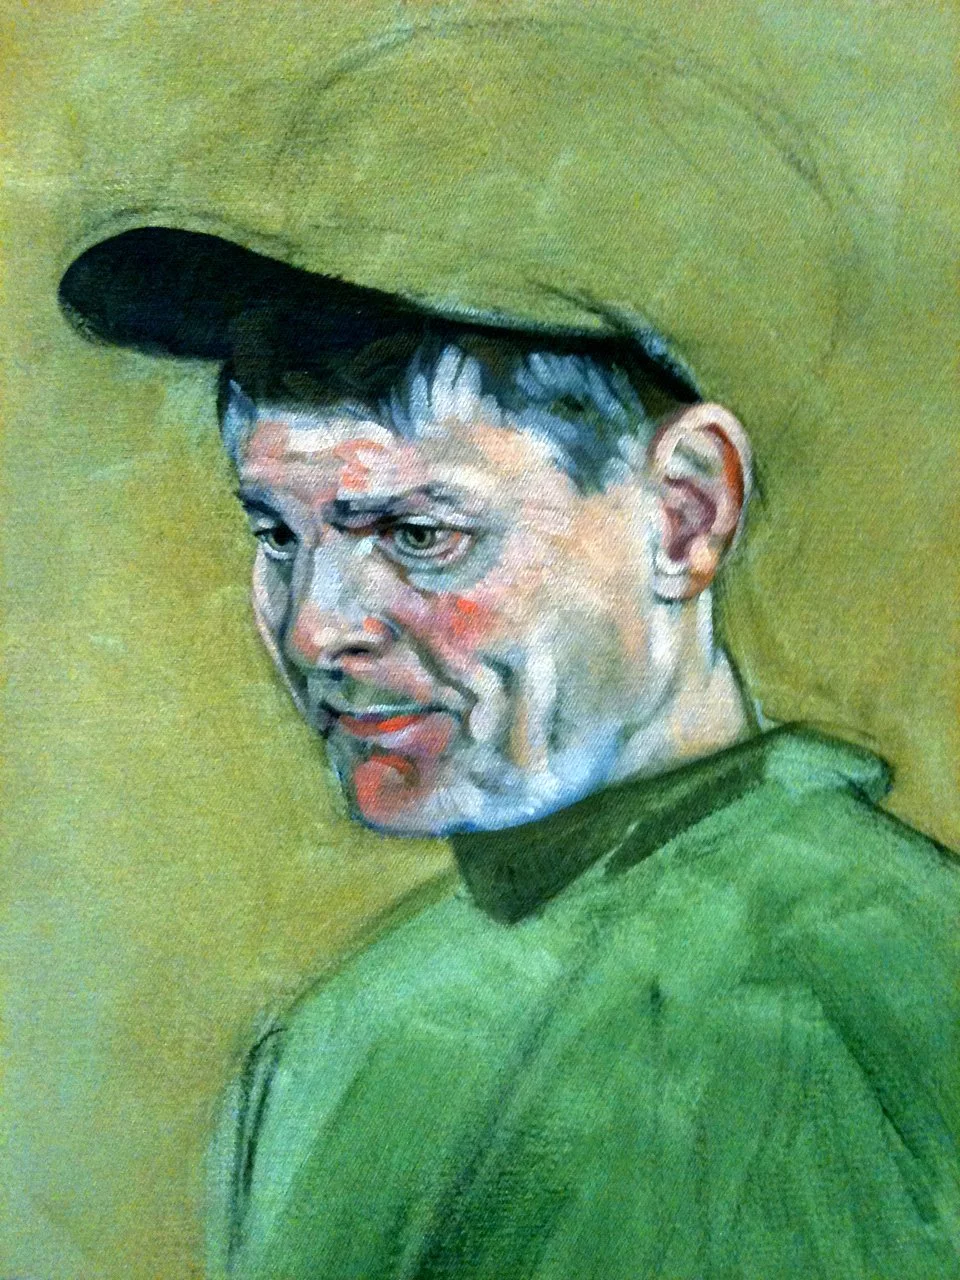
Next I loosely sketched the arms in color and began to define the background shapes. I try to work the whole composition to the (almost) same level of completion before moving on. If one area is overworked then evaluating the overall effect and success of the painting becomes difficult.
The following layers of paint were slowly added to build up the background and clothing. I worked from dark to light tones, to add a sense of depth like one sees on still, tree-shaded, pond.
Step Four
Even though I use a fairly quick-drying medium mixed in with my oil colors, I have to wait on average two days between paint layers. This makes the painting process seem to drag on for ages, but on the plus side I get time to scrutinize the painting and plan my next moves.
Some shapes I took directly from the reference photographs, but mostly they are interpretations of photographic imperfections, light reflections, dust motes, blur or shadow or just fanciful creations powered by my (seeming) obsession with elliptical forms.
The hues and tones in the face and hands are taken from what I observed while those in the environment are only loosely based on observation. (The vague yellowish-ness of the painting in these photographs is due to the incandescent lighting in my studio and iPhone camera).
Detail of built up layers of colour as amorphous shapes on clothing and background.
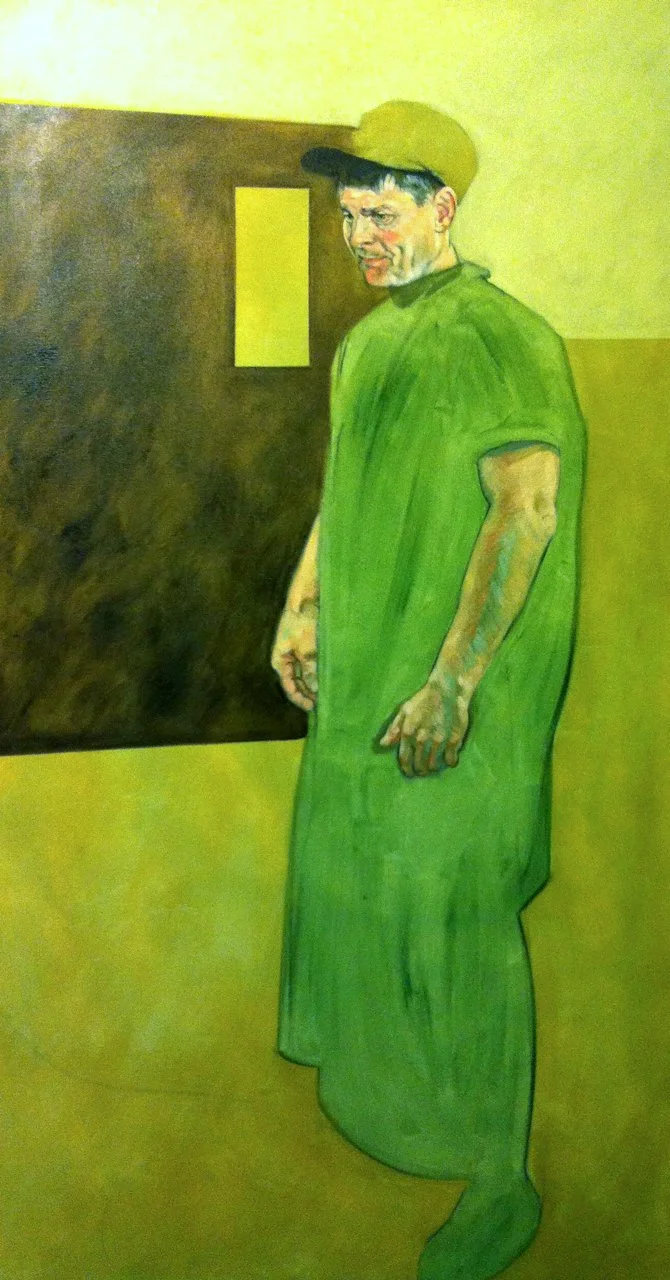
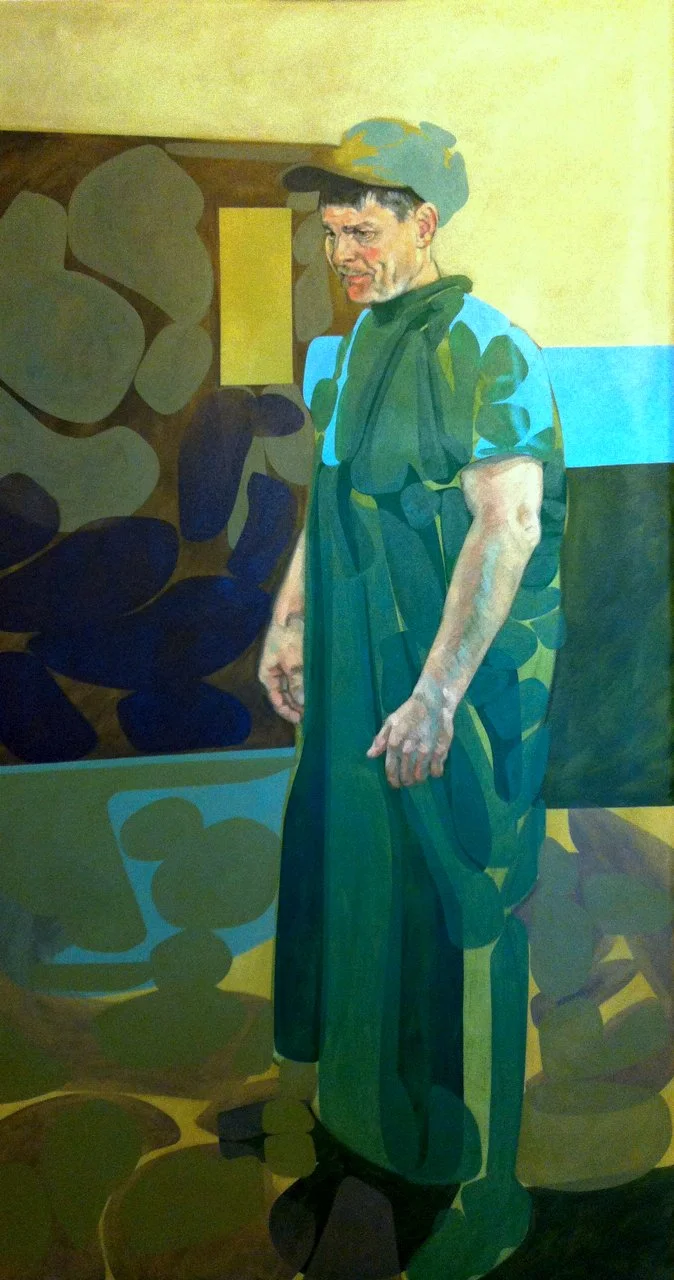
I never have a fully realised concept of the painting before I start it, so knowing when the painting will be finished is a bit difficult to anticipate. More often than not I gauge the painting's state of completion by how many weak areas I have to change or alter. If nothing jumps out at me to be adjusted, I leave the painting alone. A painting isn't finished in a flourish, the nitpicking is left off.
Here is the final result: The Veterinarian, oil on stretched canvas, 128cm x 69cm, 2012 (Private collection).
